















You don’t need a photo booth or a professional studio to get a passport-quality photo. With a smartphone and a few minutes, you can produce an image that meets official requirements without leaving your living room. The seven steps below run in order and should take about ten minutes.
1. Find good lighting
Use soft, even natural light. Near a window on an overcast day is ideal. Avoid harsh overhead lights that create shadows under your eyes or on the wall behind you. The goal is a bright, balanced face with no dark patches. If you shoot in the evening, turn on every light in the room and face the brightest source.
2. Stand in front of a plain wall
Stand about 1–2 feet from a blank wall. A white or light-grey surface works best. Remove anything hanging on the wall behind you. Frames, shelves, and plants are common rejection reasons. The cropping tool needs a smooth, uncluttered background to read.
3. Get the camera to eye level
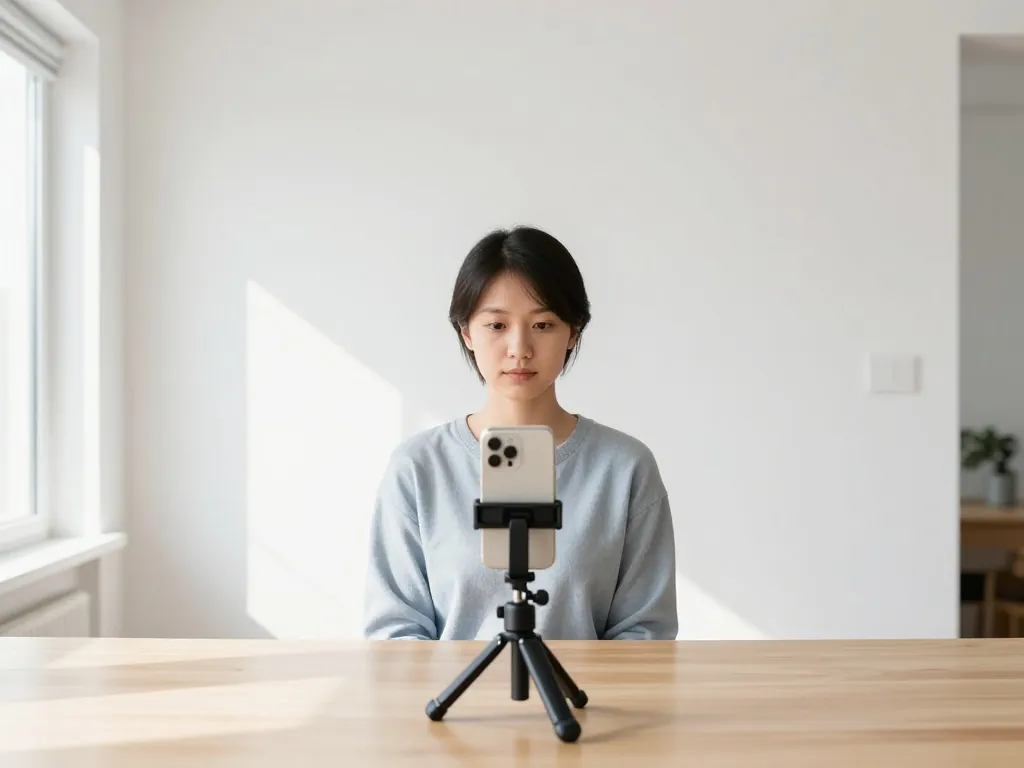
Ask someone to take the photo, or use a tripod. Keep your shoulders square to the camera, look straight ahead, and keep a neutral expression. Make sure both ears and the full top of your head are visible. Hold still for a second. A timer or a helper makes this far easier than stretching your arm out.
4. Wear plain clothes
Wear everyday clothes in solid colors; avoid white tops that blend into a white background or busy patterns that distract. Religious headwear is fine where required, but your full face must stay visible. Skip glasses if you can, since glare and frames cause many rejections; if you must wear them, ensure there’s no reflection.
5. Crop and clean it
Upload the photo to the free passport photo tool and let it:
- Auto-crop to your country’s exact dimensions (see US, Canada, or Australia for examples)
- Remove or replace the background with plain white
- Position your face using the on-screen guide
Because everything runs in your browser, your photo is never uploaded to a server, which is a real privacy win compared to many online services. This is the easiest way to make a DIY passport photo that meets the rules without guessing margins.
6. Review the preview
Zoom in and confirm your eyes are open, your expression is neutral, and there are no shadows on the wall. Compare the dimensions to your country’s spec one more time. Thirty seconds of checking here saves the weeks a rejected application can cost you.
7. Export at the right resolution
Once processed, download the photo at the DPI your application needs (digital, 300, or 600 DPI) and print it at home or submit it online. Use plain matte or glossy photo paper if printing, and avoid stretching the image when resizing.
Rejection reasons and quick fixes
Most rejections trace back to the same handful of problems. Match your photo against this table before you submit:
| Problem | Why it fails | Quick fix |
|---|---|---|
| Shadow behind your head | Wall too close, light too hard | Stand 1–2 feet off the wall and face the window |
| Head too small or too large | Framing ignored the head-height rule | Crop so the head fills 50–69% of frame height (US) |
| Glasses glare | Flash or window reflecting in the lenses | Remove them, or shoot at an angle with no reflection |
| Blurry or soft image | Motion in a low-light room | Shoot near a window, use burst mode, hold still |
| Busy background | Objects or patterns behind you | Move to a blank wall; run background removal as backup |
| Photo older than 6 months | Appearance changed, especially for children | Retake close to the submission date |
Equipment worth using, and what to leave out
Any modern phone from the last several years is enough, though the rear camera is preferred since it produces sharper results than the selfie lens. What matters more than gear is stability: a small tripod, a stack of books, or a helper keeps the frame level and sharp.
Leave out three things. Selfie sticks held at arm’s length distort proportions. Front-facing cameras in low light produce noise. Beauty or auto-enhance filters change your appearance, and authorities compare your photo to your face at the border, so heavy smoothing raises questions. Natural light plus a blank wall beats every piece of equipment on this list.
None of this needs an appointment, a booth, or a wasted print. Good light, a blank wall, a steady shot, and the right tool are enough.
Frequently Asked Questions
Can I take a passport photo at home?
Yes. With a smartphone, good natural light, a plain wall, and a free cropping tool, you can create a compliant passport photo at home without a studio or photo booth.
What is the best lighting for a passport photo at home?
Soft, even natural light near a window on an overcast day works best. Avoid harsh overhead lights that cast shadows on your face or the wall behind you, and face the brightest light source.
What background should I use for a passport photo?
Use a blank, light-colored wall. White or light grey is ideal. Remove frames, shelves, and other objects behind you, since a cluttered background is a common reason photos get rejected.
Can I wear glasses in my passport photo?
You can, but glare and frames cause many rejections. If you wear them daily, take one shot with and one without, then use the clearer image. Religious headwear is allowed where required, with your full face visible.
How do I make sure my home passport photo is accepted?
Process the photo with a tool that crops to your country's exact size, fixes the background, and positions your face to spec. Then zoom in to check for open eyes, a neutral expression, and no shadows before submitting.
How many photos should I take before picking one?
Take 10–15 frames. Blinking, slight motion blur, and shifting shadows are invisible at thumbnail size, so shooting a burst gives you real choices. Pick the frame where both eyes are fully open and your head is perfectly level.
Can I use a timer instead of another person?
Yes. Prop the phone against books or a small tripod, set a 3- or 10-second timer, and stand 4–6 feet away so the lens is at eye level. A helper or timer beats an outstretched arm, which tilts the camera and distorts your proportions.