














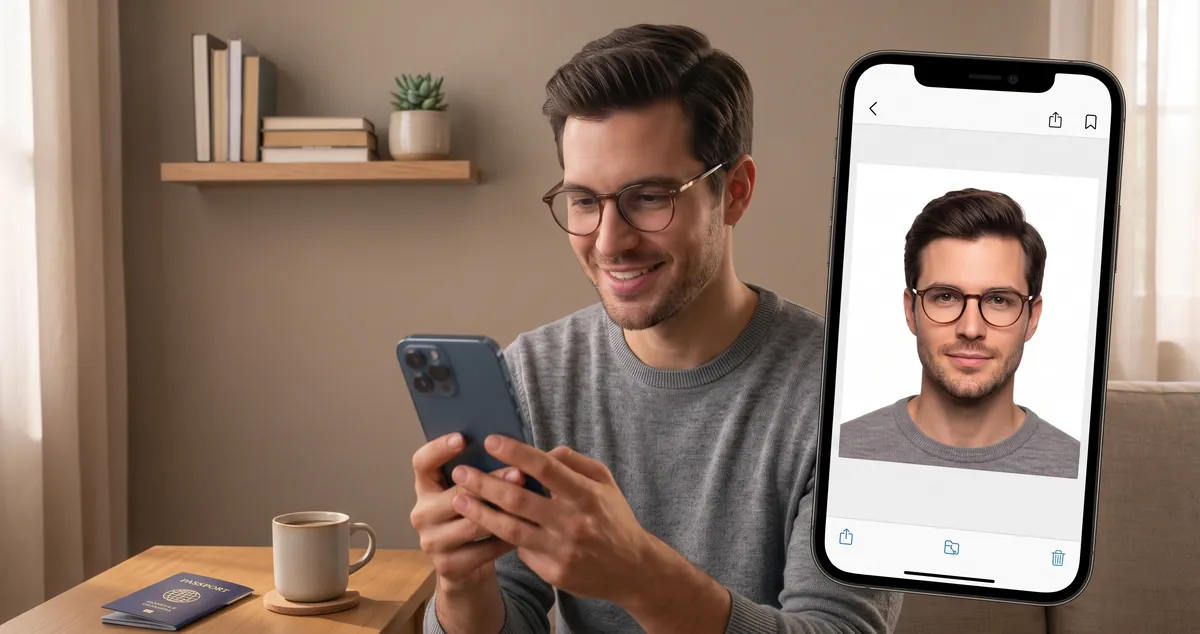
The background is the most common reason a home-made passport photo gets turned down, and also the easiest thing to fix. A cluttered kitchen wall, a bedroom door with a mirror in it, a patterned curtain: none of that survives inspection, and all of it can be replaced with a clean, uniform colour in under a minute.
Background removal is not one technique but three, and they trade off against each other. This page covers what each one actually does to your file, and which is worth your time for a document that gets checked.
How much a bad background costs you
Authorities reject photos for a small, predictable set of reasons, and background problems sit near the top of that list. The logic is straightforward: the background is the part of the image the machine does not care about, so it is the part that must look identical across millions of applicants.
A compliant background is plain, evenly lit, and free of shadows, gradients, texture or objects. That requirement is what makes background removal for passport photos so widely searched: it turns an unusable snapshot into a compliant one.
Background colour is not universal:
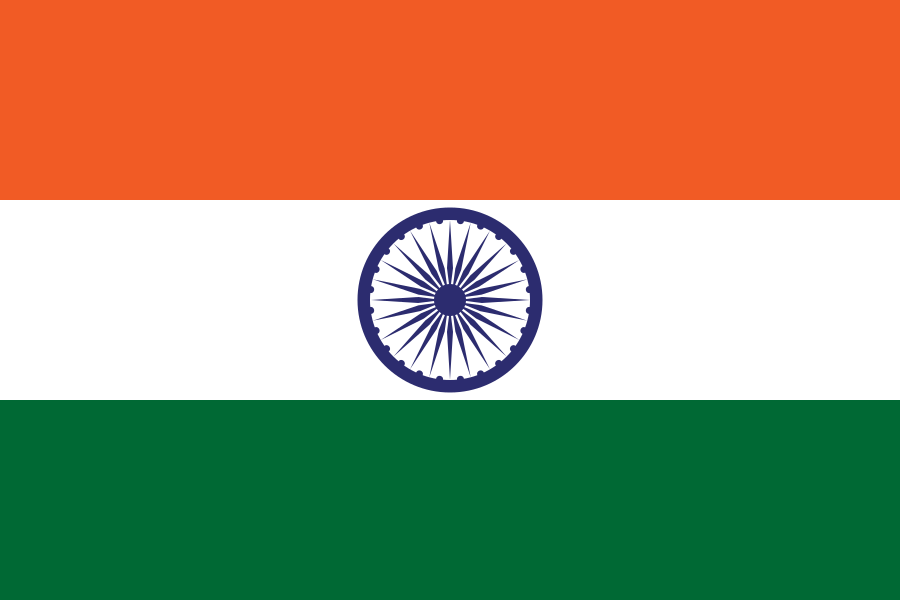
- United States, UK, Canada, India, Australia, New Zealand: white or off-white
- Most EU and EEA member states: light grey or plain light
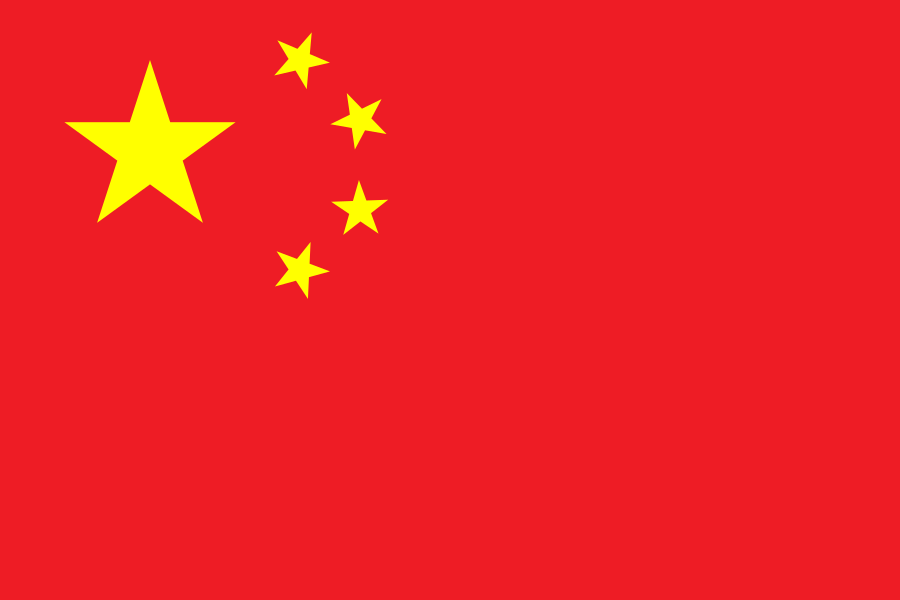
- China and several Gulf and Asian authorities: light blue
- A few countries, including India for certain documents: any light colour
Check your own authority’s page rather than assuming. Our country-by-country requirements guide lists the background rule for every country we cover, alongside size and head-height limits.
Method 1: AI background eraser (fastest, works on any photo)
An AI eraser detects the subject, separates them from the backdrop and outputs a transparent PNG. There is no tracing, no layers and no masking to manage.
- Open a browser-based eraser. No install, no account, works on Windows, macOS, Linux, Android and iOS.
- Upload your photo. JPG, PNG or WebP.
- Wait for the model to segment. On a modern laptop this takes a few seconds; phones fall back to CPU and take longer.
- Inspect the edges at 200% zoom. Check hair, glasses, ears and any fuzzy headwear.
- Download the transparent PNG.
The free background eraser here runs the segmentation model entirely inside your browser using WebAssembly and WebGL, so your photo is never uploaded to a server. That matters for ID documents: you are not sending biometric-adjacent imagery to an unknown third party.
This is the method to reach for when the original background is busy and you have one photo and no editing experience.
Method 2: Phone apps (convenient, watch the export)
Dedicated mobile apps do the same segmentation, and several are genuinely good. The trade-offs are account prompts, watermarks on free tiers, aggressive upscaling, and the real risk: uploading your photo to someone else’s cloud.
If you use an app:
- Prefer one that states processing happens on-device.
- Disable any “beauty” or smoothing filter. Passport photos must not be retouched.
- Export at the maximum resolution available, not the compressed share size.
- Skip any app that asks you to log in just to remove a background.
Method 3: Manual editors (best edge quality, slowest)
Photoshop, GIMP, Affinity Photo and Photopea all support background removal through the pen tool, lasso tool, or a colour-based quick selection.
- Open the image.
- Run Select → Color Range or a quick selection seeded from the background.
- Refine the edge mask with Select and Mask, feathering 0.5–1 px.
- Add a solid white layer beneath the cutout.
- Flatten and export as JPEG at 300 DPI.
Manual work gives you pixel control over hair strands, which automated tools occasionally miss. It also takes five to fifteen minutes per image, and a beginner’s first attempt usually looks worse than the AI result. Use this when a specific edge problem survives Method 1 and the image genuinely matters.
What actually makes an edge fail
Most bad cutouts trace back to the source photo, not the software:
| Problem | What it looks like | Fix |
|---|---|---|
| Halo or fringe | Light outline hugging the hair or shoulders | Shoot against a darker, plainer wall; shrink the subject slightly in frame |
| Ragged hair edge | Choppy, bitten-off strands | Use a higher-resolution source; avoid backlight that blows out the outline |
| Shadow retained | Grey smear behind the shoulder | Move away from the wall by a metre so no shadow falls on it |
| Colour bleed | Fringe matching the old wall colour | Use a background colour that contrasts with your hair and clothing |
| Missing glasses frame | Lens or temple removed as background | Manually restore the frame, or use a colour-selection method instead |
Move a metre away from the wall before you shoot. It costs nothing, and it removes the single most common cause of dirty cutouts.
Turning the cutout into a compliant passport photo
A transparent cutout on its own will be refused. Once the background is clean, run it through the passport photo maker for your country, which:
- places the cutout on the exact white or off-white your authority specifies,
- crops to the official dimensions: 2 × 2 inches for a US passport, 35 × 45 mm across most of Europe, 50 × 70 mm for Canada,
- scales head height into the required range and centres the eyes,
- exports at the DPI and file weight your application accepts.
Doing the crop before the background fix is the wrong order: you have less usable frame to work with, and the eraser needs the untrimmed photo to read edges cleanly.
What not to change
Background replacement is legitimate. These edits are not, and they are why some retouched images are refused outright:
- Swapping in a different face or using AI to generate features
- Slimming the face, removing wrinkles, or smoothing skin
- Adding or removing glasses, a hat, or a beard
- Retouching the background into an unnatural gradient to hide a poor cutout
- Reusing a photo taken more than six months ago
If in doubt, change only the background and nothing else.
Print, upload, or both
Once you have a compliant master file, every downstream format derives from it:
- Online portals: upload the JPEG the portal asks for. Most want under 240 KB, which our image compressor handles in a step.
- Print: lay the photos out on a 4 × 6 print sheet so cuts are accurate.
- File format: JPEG for nearly every government portal, and PNG when a form explicitly requires lossless quality. Use the format converter if your source is WebP or HEIC.
Running the browser eraser
Upload a photo, strip the backdrop in your browser, and land a compliant, correctly sized passport photo without a studio visit. It is free, private, and the whole process runs on your own device. Open the background eraser to start, or see the full shooting workflow in how to take a passport photo at home.
Frequently Asked Questions
What background color do passport photos require?
Most countries ask for a plain, light background: white for the US, UK, India and Canada, and light grey or off-white for much of the EU. A few countries such as China and several Gulf states accept or require light blue. Always check your own authority's rule, because a colour that is accepted in one country is a rejection reason in the next.
Can I remove a passport photo background at home for free?
Yes. AI background erasers that run in your browser are free, need no signup, and process the image on your own device. Upload the photo, let the model segment the subject, place the cutout on white, then crop to your country's exact dimensions.
Will removing the background make my photo look edited?
It does not have to. Modern segmentation models preserve hair, glasses and clothing edges accurately, and the passport authority only sees the final flat image, not your edit history. What does cause rejection is a soft halo of the old background bleeding into the edges, so inspect the outline at high zoom before exporting.
Is it legal to edit my passport photo background?
Changing the background is routine and accepted everywhere, since authorities expect a uniform colour that may differ from your wall. You must not alter your face, swap in a different person, add or remove accessories that change your appearance, or retouch your features. Those alterations are what get flagged.
Why does my cutout look bad around the hair?
Usually one of three things: a low-resolution source that leaves the model only a few pixels of edge to work with, harsh backlighting that blows out the hair outline, or a busy background with colours similar to your hair. Shoot against a plain wall in soft front light and the edges clean up automatically.
Should I use a transparent PNG or a white background?
Export a transparent PNG from the eraser, then flatten it onto the exact white or off-white your authority specifies. Transparent files are accepted by most online portals, but several printed applications reject images with an alpha channel, so always flatten before printing.
How do I know the finished photo will be accepted?
Run it through the passport photo maker for your country after the background is fixed. It checks the pixel dimensions, head height, eye position and background uniformity against the official spec, so you catch size and framing errors before you pay for prints or queue at the counter.